It’s Just a Hat. Right?
I don’t wear hats.
And no, it’s not some stubborn habit left over from childhood, when I used to pull my hat off the moment I was safely out of my grandmother’s sight. For a long time, I was convinced that the hat that actually suited me simply hadn’t been invented yet. And just when I finally discovered that things weren’t quite so hopeless, another problem came along.
I have very short hair. A buzz cut, to be precise. Despite that, my hair has a wonderful habit of living its absolute best life under a hat. Unfortunately, the moment I take that hat off, the result is something I’d rather not discuss.
So yes, I have certain requirements when it comes to hats. Very specific requirements. Some might even call them ridiculously high. So I decided to knit my own perfect hat.
I started thinking about what my perfect hat should be like.
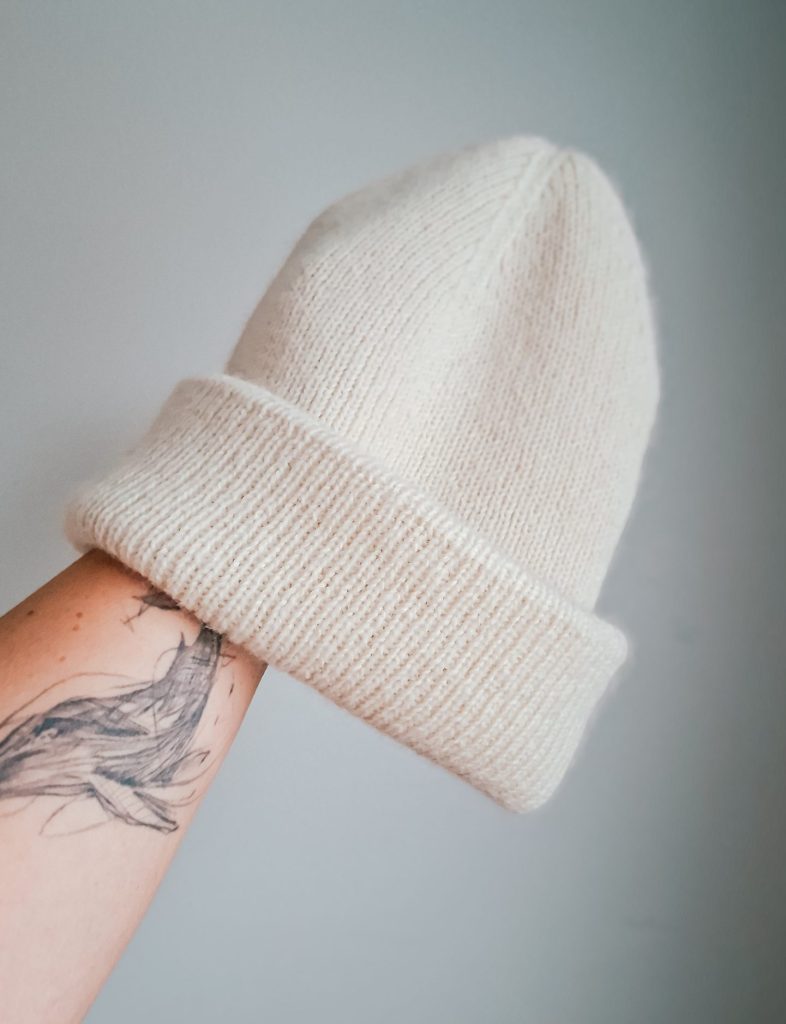
Warm? Yes. Comfortable? Absolutely. But I also wanted it to be incredibly soft, wonderfully pleasant to the touch and lightweight. It shouldn’t hug my head too tightly, but it absolutely had to have a double-folded brim. And I wanted just a hint of fluff. Nothing too hairy, like mohair. Something a little more delicate.
Finding a pattern turned out to be surprisingly easy. Thanks to recommendations from my lovely Instagram followers, I chose the Weekend Hat by PetiteKnit.
Adapting that pattern to all my requirements, however, turned out to be a different story. Especially when it came to my own knitting gauge. And this is where gauge entered the picture. My gauge, to be precise.
His Majesty the Swatch
I hate knitting swatches.
Fortunately, when it comes to socks, I haven’t needed them for years. And I naively assumed that a hat wouldn’t be much different. I was wrong. Unfortunately, there wasn’t just one swatch. There were several.
I dug through my yarn stash, found some leftovers that seemed like possible candidates for my future hat and started knitting swatches. Given how tightly I knit, I had two realistic needle sizes to work with: 2.75 and 3.0 mm. So those were the needles I used. And yes, it was exactly as boring as I had expected. But each swatch gave me a few more numbers, and those numbers gradually started to tell me something useful. I was beginning to understand which direction I needed to go. Now, the original pattern called for a gauge of 24 stitches and 29 rounds per 10 cm in 1×1 ribbing, using 3.5 mm needles.
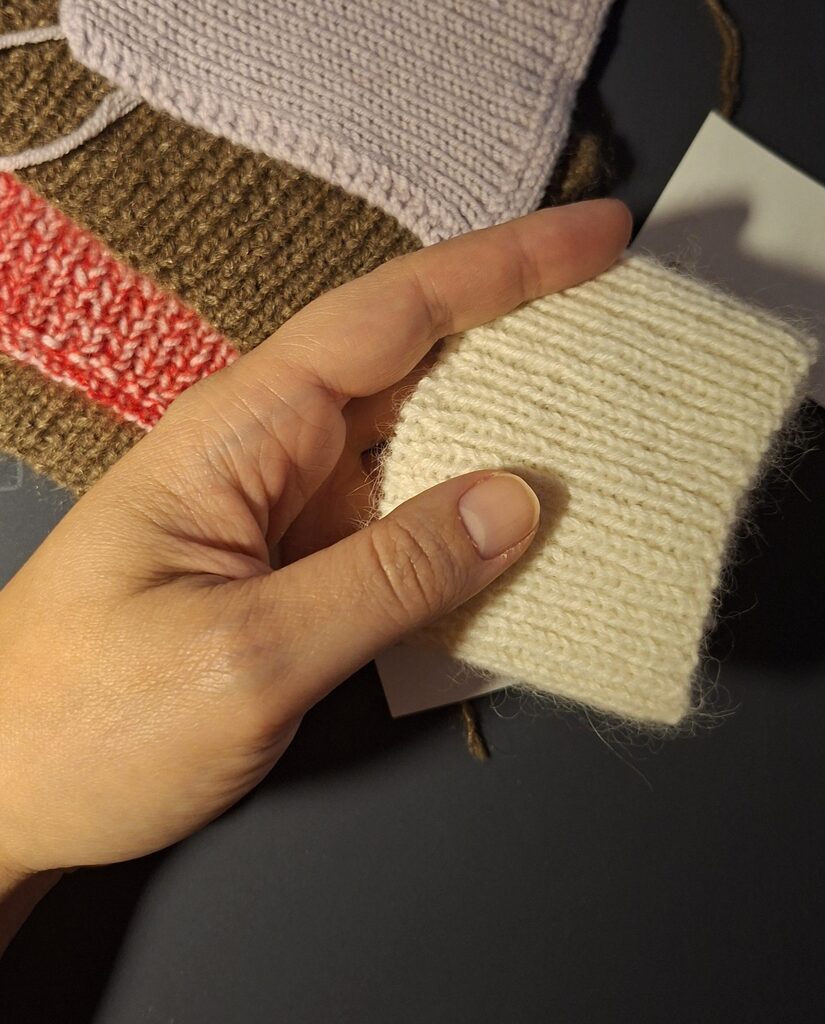
Once I had chosen and ordered my yarn, I got lucky again. I had never knitted with KAOS YARN before, so ordering their Organic Soft Merino together with Halo Brushed Alpaca was a bit of a leap of faith. And what a lovely surprise it turned out to be! The combination was absolutely wonderful. Incredibly soft, pleasant to the touch and with exactly the delicate halo I had been looking for.
So, with the yarn question happily settled, I knitted another swatch on 3.0 mm needles, washed it, let it dry and faced the inevitable. My gauge was 30 stitches per 10 cm in 1×1 ribbing. Which, as you can imagine, was quite different from the designer’s 24 stitches.
And here’s a little spoiler: after washing, the finished hat ended up with a gauge of 34 stitches per 10 cm. Not only different from the original pattern, but also noticeably different from my own carefully knitted, washed and measured swatch. Yes. Apparently, even my swatches and my actual knitting don’t always agree with each other.
And this was the point where I seriously considered abandoning the whole project. Because if there’s one thing I dislike even more than knitting swatches, it’s recalculating knitting patterns to match my gauge. And so I sat down to do some maths. Not exactly my favourite part of knitting, but sometimes there’s no avoiding it.
A Little Hat Maths
The basic formula for calculating the number of stitches for a knitted hat is fairly straightforward:
Stitch count = (Head circumference − 10–15% negative ease) × stitches per cm
With my 57 cm head circumference and an estimated gauge of 30 stitches per 10 cm (3 stitches per 1 cm), using 10% negative ease would give us:
57 × 0.90 × 3 = 153.9 stitches
Here, 0.90 means we’re using 90% of the head circumference, leaving 10% for negative ease. So approximately 154 stitches, before adjusting the number to suit the stitch pattern.
Perfectly reasonable. Except that I didn’t want a snug-fitting hat. I wanted mine to sit comfortably on my head without squeezing it, so the usual amount of negative ease wasn’t going to work for me.
After considering a few possibilities, I settled on a target circumference of 56 cm (roughly 2% negative ease), just slightly smaller than my head circumference.
56 × 3 = 168 stitches
That was my starting point. I told myself one of my favourite things. Something that has helped me countless times over the years. Whatever I’m knitting doesn’t have to be some precious masterpiece, destined to be examined and judged by a panel of world-renowned knitting experts. No. It’s just knitting. So why not let the entire hat be one big swatch? If it didn’t work out, I’d simply consider it a test knit. And if it did, well, lucky me!
So I started knitting.
By the way, after knitting countless socks on 2.0 mm needles, switching to 3.0 mm felt like getting into a racing car after riding a scooter. I couldn’t believe how quickly the hat was growing!
Of course, I tried it on as I went, checking the fit after each fold of the brim. And every time, I had the same feeling: it was just about as snug as I could tolerate. I wasn’t entirely happy with that, but I wasn’t ready to give up either. The fabric was definitely denser than I had expected, and the ribbing felt tighter than I had planned. Still, it wasn’t quite bad enough to make me unravel everything and start again. So I kept knitting, hoping that washing and blocking might make a difference.
To Crown It All
The next challenge was figuring out when to start the crown decreases. And this is where row gauge became just as important as stitch gauge.
My washed swatch had given me approximately 38 rounds per 10 cm. But knowing how many rounds I could fit into a certain height was only half the story. I also needed to decide how tall I wanted the hat to be and how much of that height to leave for shaping the crown.
So I kept trying the hat on, measuring it and looking at it from different angles. Especially from above, because a hat can look perfectly fine from the side while still needing quite a bit of shaping at the top. These little fitting sessions helped me estimate how much height I wanted to leave for the decreases.
Eventually, I decided to start the crown shaping after 128 rounds. By that point, the two fold lines were finished, the brim was complete and I had knitted another 26 rounds above it.
The original Weekend Hat pattern includes crown shaping instructions, which I adapted to my stitch count of 168 and my own row gauge.
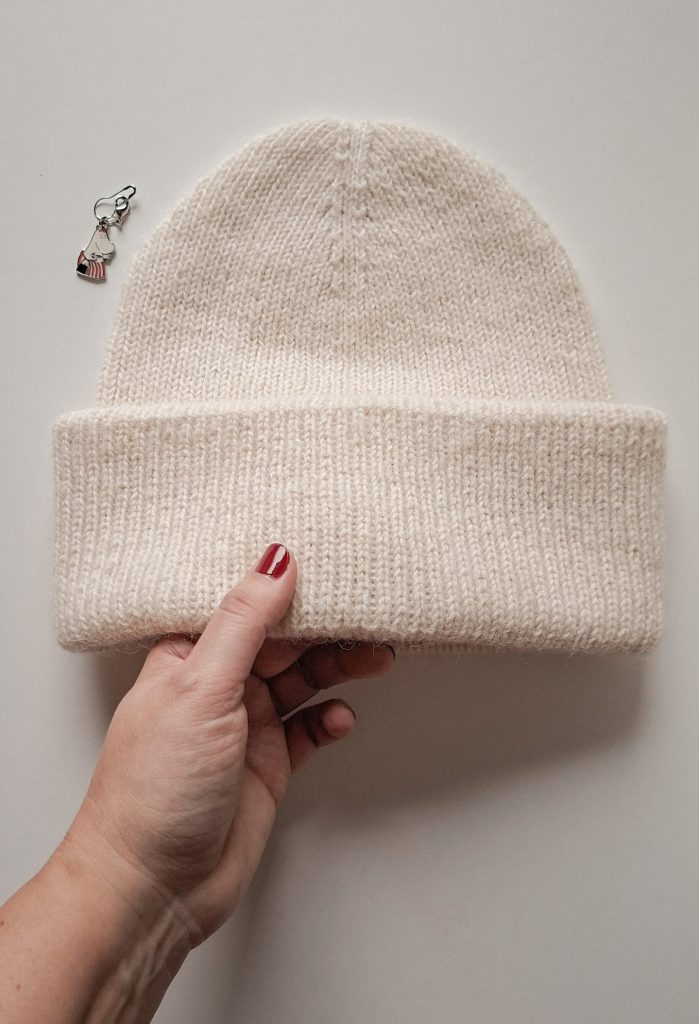
I kept the general construction but adjusted the decrease frequency to get the crown height and shape I wanted.
My modified decrease sequence looked like this:
11 repetitions of one decrease round followed by one round in ribbing.
7 consecutive decrease rounds.
1 final round decreasing every second stitch.
That gave me 30 rounds of crown shaping, or approximately 8 cm based on my swatch gauge. And with that, all the calculations were finally behind me.
Not Quite as Planned
Finally, the hat was finished. I tried it on one more time and had pretty much the same doubts as before. The ribbing was still a little tighter than I wanted, and the crown felt rather stiff. Not exactly the soft hat I had imagined. But there was one thing left to do before making any final decisions: wash it.
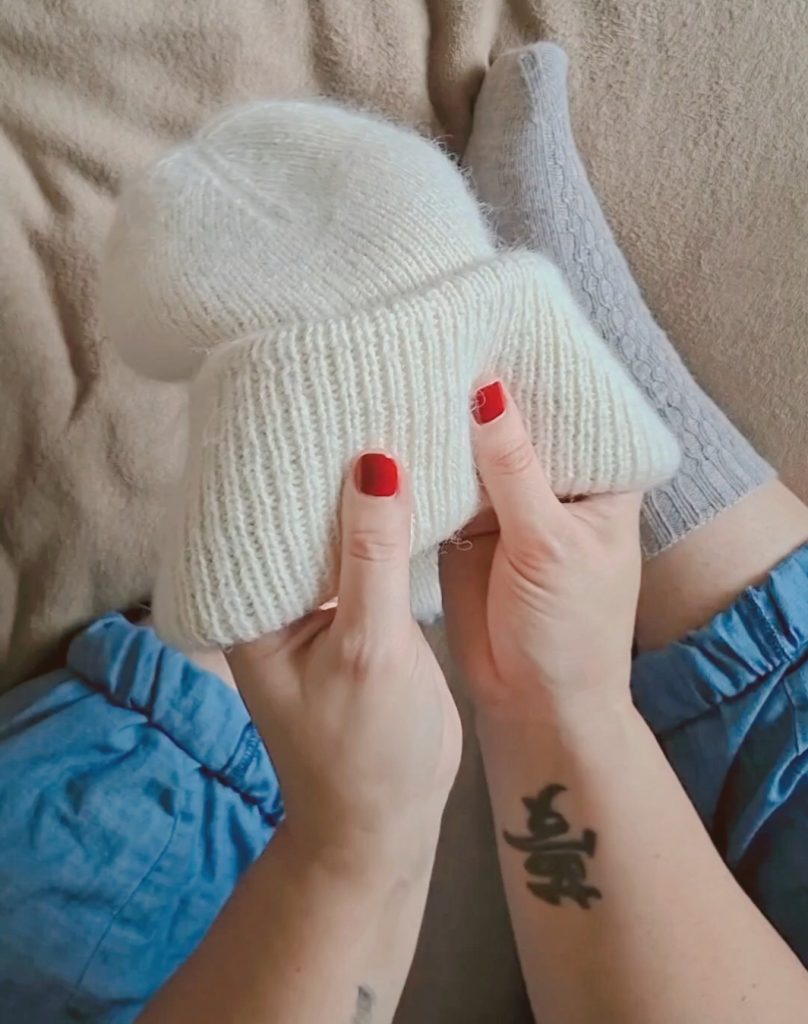
And oh, what a difference! After washing and drying, the fabric was almost unrecognisable. The yarn became even softer, the ribbing was more flexible and the crown finally relaxed into a lovely, soft shape. The whole hat felt much more comfortable on my head. It still had enough structure to keep its shape, but without that unpleasant feeling of tightness I had noticed during knitting.
Just out of curiosity, I measured my gauge.
Remember my carefully knitted and washed swatch, with approximately 30 stitches and 38 rounds per 10 cm? Well, the finished hat, knitted with exactly the same yarn and the same 3.0 mm needles, gave me 34 stitches and 36 rounds per 10 cm. Yes, the finished fabric was actually denser in stitches than my swatch after blocking. The relaxed circumference of the hat was only about 48 cm, even though I had originally calculated 168 stitches for a target circumference of 56 cm.
Of course, I know that knitted fabric changes after washing and blocking. The yarn relaxes, the fibres bloom and that lovely little halo fills the spaces between the stitches. That’s one of the reasons we wash and block our knitting in the first place, isn’t it? So I certainly expected some changes. What I didn’t expect was such a difference between my carefully washed swatch and the finished hat.
And I can’t tell you exactly why the two behaved so differently. Perhaps my tension changed when I knitted the actual hat, perhaps the fabric behaved differently as a larger piece, or perhaps measuring relaxed 1×1 ribbing is simply less straightforward than we’d like to believe. Most likely, several things played a part.
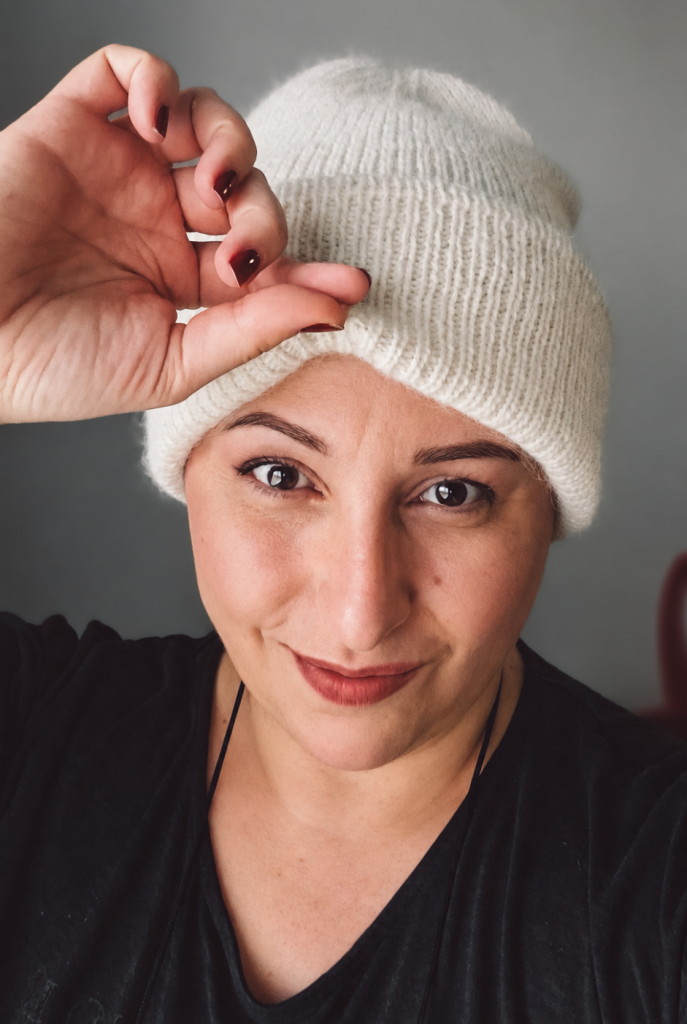
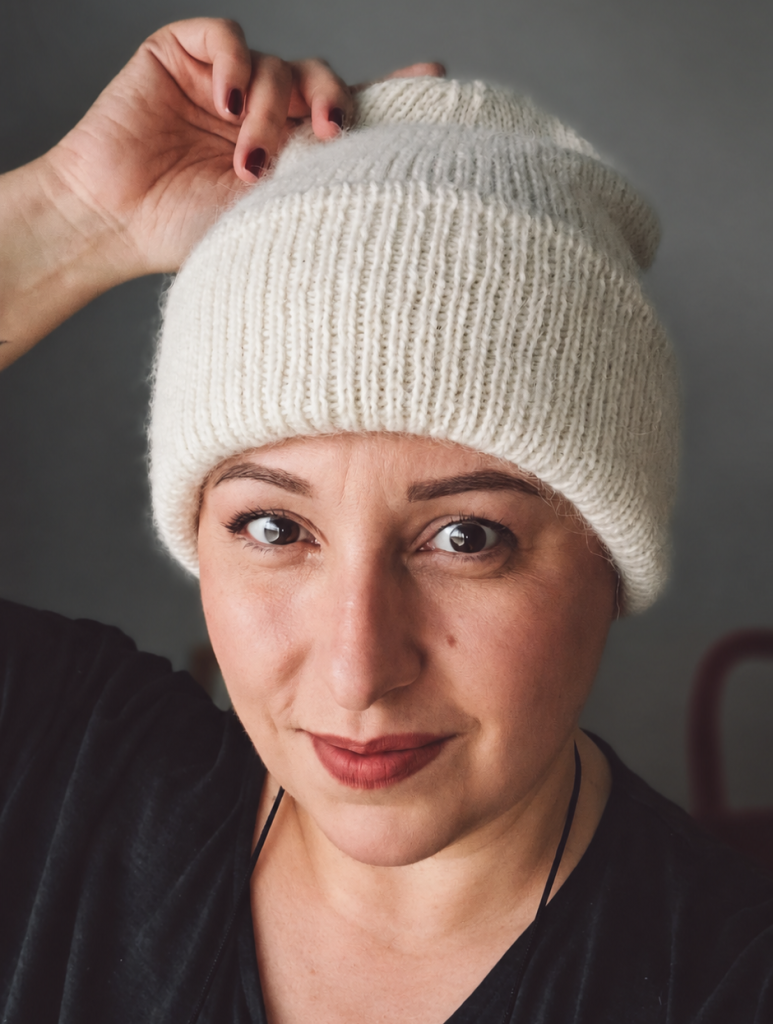
But here is the funny thing. Despite all those unexpected numbers, the finished hat turned out to be exactly what I wanted. Warm, wonderfully soft, lightweight and comfortable, with two generous folds and a crown that sits beautifully without clinging to my head. The ribbing stretches comfortably when I put it on, and the hat stays in place without squeezing my forehead.
So what did I learn from my first hat? That calculations are useful. Very useful, actually. They gave me a sensible starting point and helped me make decisions instead of guessing blindly. But they couldn’t tell me everything about how the finished fabric would behave or how the hat would actually feel on my head.
I still think swatches are worth making, even if I don’t particularly enjoy knitting them. And I’ll certainly keep measuring, calculating and adjusting patterns to suit my own gauge. But I’ll also remember that a swatch is a starting point, not a promise.
And after all that, I finally have a hat I actually want to wear. Not bad for someone who doesn’t wear hats.

You May Also Like
Hi, I’m Natalia
13.09.2026
Red Squirrel Socks
07.05.2024